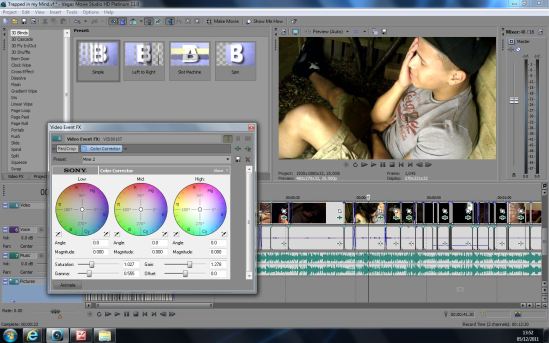
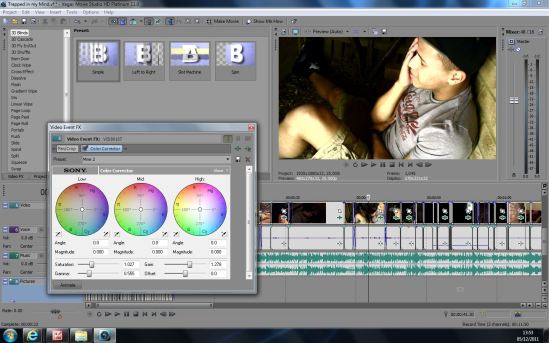
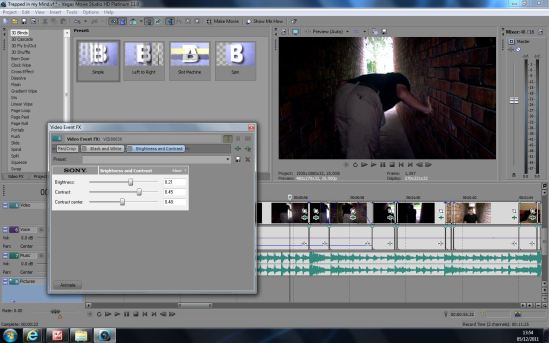
After we filmed the final scene, Modey and I sat down together and placed them onto Sony Vegas, our preferred editing suite. We cut them correctly and placed them into the spaces that we needed whilst syncing them to the music. This gave us a clear idea of what scenes are needed and where in the timeline.
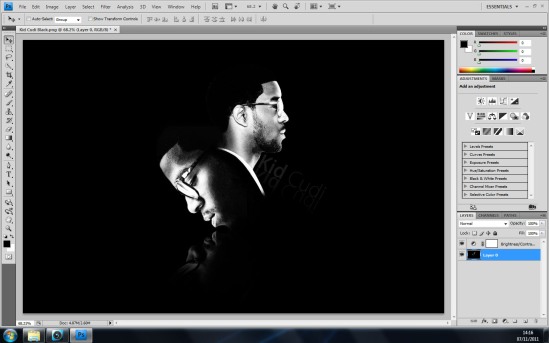
We also created a Kid Cudi poster to add into our music video where the title of the song and artist will suddenly appear. We created the image on Adobe Photoshop by adjusting the colours to match our video more which meant using dull but contrasting colours.
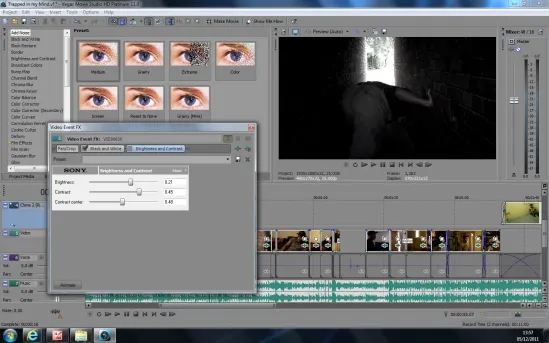
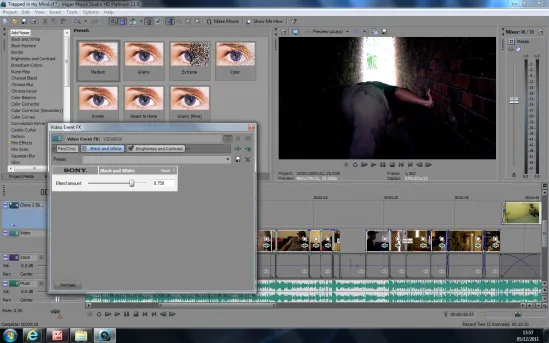
Once we had managed to place the shots we had taken in place with the song timeline we got onto the Video FX stage in Sony. Video FX is basically a tool that helps us adjust the tone and colour of our music video shots. There were 5 adjustments that we both loved and wanted to use it in our music video. These adjustments are the following:
- Colour Corrector
- Black and White
- Brightness
- Contrast
- Gaussian Blur
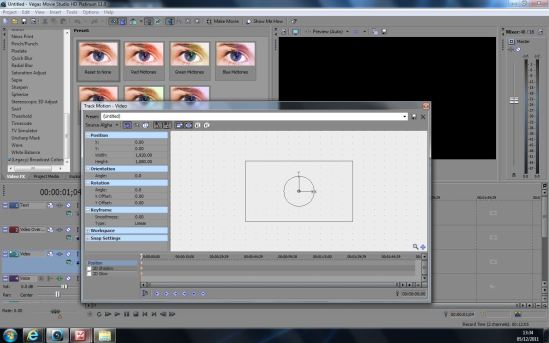
For the introduction of our music video we wanted to use still motion that were tightly together in a very small time frame. The main problem with the photo that I took was that some photos weren’t wide screen which was really annoying, therefore we decided that we could create a new layer in Sony Vegas timeline and placed the pictures onto that. Then we went onto track motion setting and disabled all of the locks that prevented me from moving around the screen. Once the images were locked it gave us the ability to stretch the narrow images and scaled them to fit the wide-screen setting which came out exactly what we wanted.
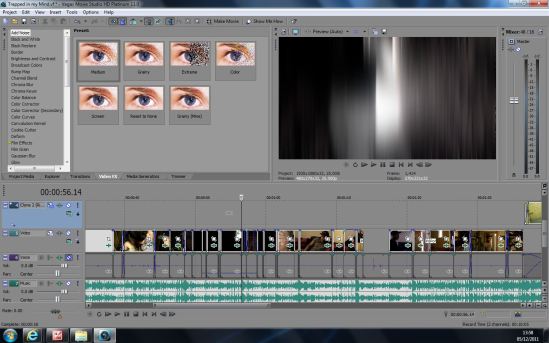
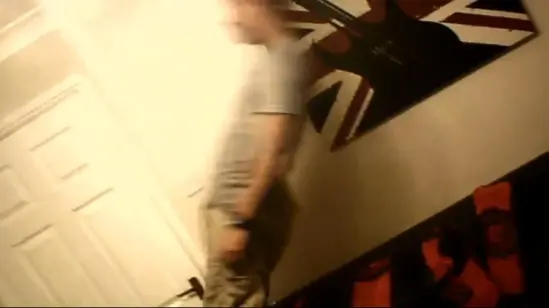
The Gaussian Blur is the adjustment I used to create the blurs that match the song in the introduction of the song, the alleyway scene and the ending of the song. The blur makes the video match the beat and tempo of the song, creating a better link between the two. An example of the Gaussian Blur before and After is located above in picture form.
The Gaussian Blur is a technique that we like to create blurs that matched the timing of the song for the introduction. This made our introduction much more interesting and complete. We also used a text from in the introduction with the name of the artist and song title after after the words appeared in the introduction, repeating what was read in the still shots.
We used Slow-motion in 2 areas of our music video, one where Dom falls backwards onto the sofa which we thought would look really effective in slow motion. The other slow-motion technique in our music video is where Dom shows his anger and frustration towards the end of the music video, which was really effective to do in slow motion as it really emphasis his emotions within his face and body language.
Transitions in my music video link the shots, most of the transitions I used are:
- Fade
- Dissolve
- Portals
- Plain Cut
The most unique transitions are dissolve and portals. Dissolve is straight forward where two shots overlap and one dissolves whilst the other enters.
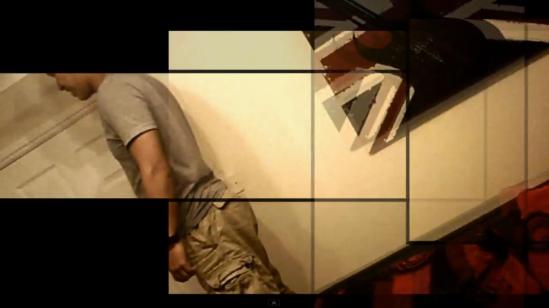
The portal transition was a good transition that created squares that makes the next shot appear. I really liked this transition and wanted to use it when there was a change of location in the music video, for example the choruses. This proved to be quite effective than other transitions or effects like the fades or wipes etc. As this transition looks much more technical, professional and made more people wanting to watch our progress as they were fascinated by our creativity of editing effects.

