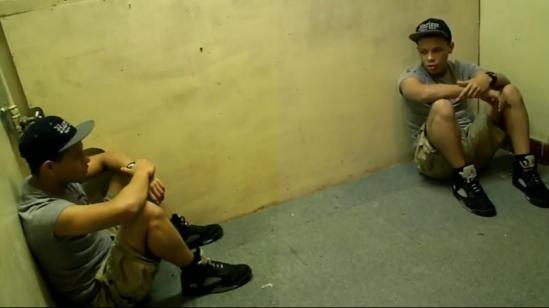
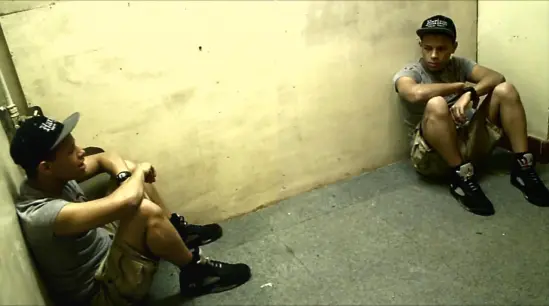
Editing the cloning shots:
From watching tutorials on you tube I learnt a lot about the simple steps that are needed to take place when wanting to create the cloning effect. We first needed to create a new layers for each scene then move them both to each side of the window. We then had to cut out the opposite side of the shot to allow them to blend in with each other. Then a problem occurred the lightening of both shots were slightly different in shades which create a line between the shots when they were moved together.
To get rid of that line down the middle, we used Video FX again so we can combine different forms of colour grading to the shots to help get rid of the line. This is done by changing the colour brightness and contrast which allows us to blend the shots in together, to give the impression its one whole shot. It took a lot of trial and error to find the perfect adjustment in the Video FX section to find the correct colour grading adjustments to suit the cloning shots. The brightness and contrast setting was the most useful tool to use as it did the job much better.
On the screen shot above, it clearly shows that the brightness and contract of the colour corrections have made a massive difference. The Video FX adjustments have proven to be extremely successful during this complex and hard process.


